In the scorching heat of summer, a malfunctioning air conditioner can turn your living space into an unbearable sauna. Before you dial the air conditioner service and empty your wallet, consider trying some do-it-yourself (DIY) troubleshooting techniques to identify and possibly fix common AC problems. This guide will walk you through the steps to ensure your air conditioner is running smoothly and efficiently.
1. Check the Thermostat
Start with the basics. Ensure that the thermostat is set to the desired temperature and mode. Sometimes, a simple adjustment can solve temperature control issues. If you have a programmable thermostat, make sure the schedule is correctly configured.
2. Inspect the Air Filter
A clogged or dirty air filter can restrict airflow, reducing the efficiency of your AC unit. Check and replace the air filter regularly, ideally every 1-3 months, to maintain optimal performance. This simple step can significantly extend the lifespan of your air conditioner.
3. Examine the Condenser Unit
Head outside to inspect the condenser unit. Ensure it is free from debris, such as leaves or grass clippings, that might obstruct the airflow. If the condenser is dirty, gently clean it using a soft brush or a low-pressure hose. Be cautious and turn off the power before attempting any cleaning.
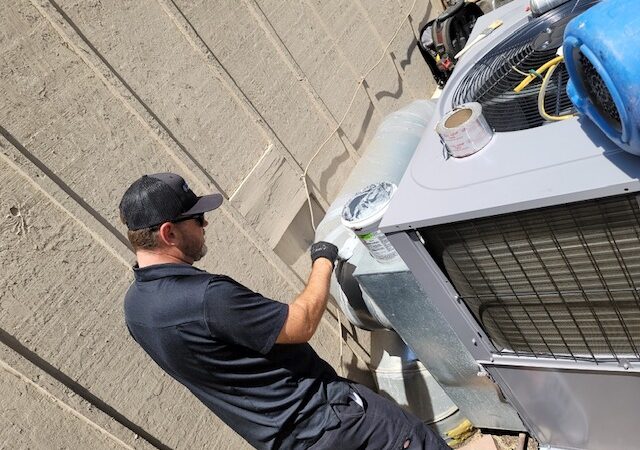
4. Inspect the Ductwork
Leaky or poorly insulated ducts can lead to cool air escaping before it reaches your living space. Inspect the ductwork for any visible damage, and seal any gaps with duct tape or other appropriate materials. Proper insulation can improve the overall efficiency of your air conditioning system.
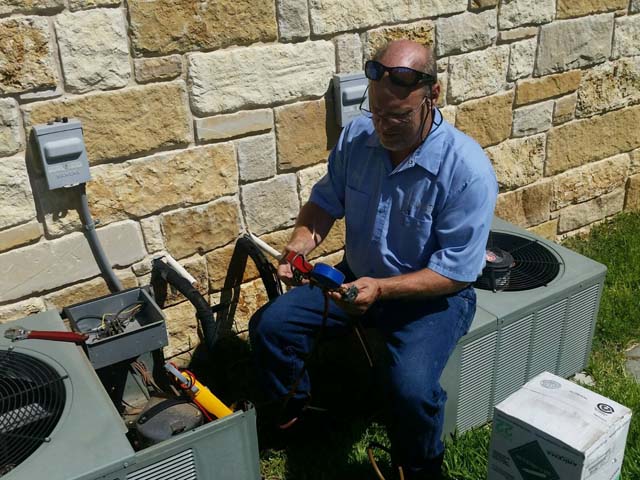
5. Check for Refrigerant Leaks
Low refrigerant levels can impair the cooling efficiency of your AC. Inspect the refrigerant lines for any signs of leakage, such as oil stains or hissing sounds. If you suspect a refrigerant leak, it’s crucial to consult with a professional HVAC technician for repairs.
6. Inspect the Capacitor
The capacitor is a vital component responsible for starting the AC’s motors. If your unit is having trouble starting, the capacitor might be faulty. Before attempting to replace it, turn off the power to the AC unit and discharge the capacitor by shorting the terminals with an insulated screwdriver.
7. Evaluate the Evaporator Coil
A frozen evaporator coil can impede the cooling process. Check for ice buildup on the coil and ensure proper airflow around it. If you notice ice, turn off the AC and let it thaw before restarting. If the issue persists, there may be an underlying problem that requires professional attention.
Conclusion
By following these DIY troubleshooting steps, you can address common AC problems and potentially save on repair costs. However, keep in mind that some issues may require the expertise of a licensed HVAC technician. If your attempts at troubleshooting prove unsuccessful, it’s advisable to seek professional assistance.
Remember, regular maintenance is key to preventing AC problems. Schedule annual check-ups with a qualified technician to keep your air conditioner running efficiently throughout the seasons.